Using Open edX: Definitive guide
- Created at:
- Updated at:

Technologies do not stand still, and their development contributes to the fact that more and more educational institutions are transferring their academic processes and courses to various online platforms. Open edX is one of the leading platforms in the market, with over 19 million users. This article will show you how you can use the Open edX platform to leverage your learning process.
Preparation Stage
So, you have a proven over the years in-class lectures tutorial and want to bring them online using the power of Open edX. But, first, you need to decide in what format you want to present your course since the Open edX platform provides a choice of three formats.
- Read and Click. This format is the most standard and easiest for developing an online course. However, such courses are limited due to their specificity. Students must read each slide and take various tests. The course format itself does not allow you to do something more unique.
- Interactive Learning. This format is more advanced and allows the introduction of various audio and video materials, which adds variety to the learning process and increases engagement.
- Simulation. The most comprehensive online learning format provides advanced learning tools like two-way sessions, discussions, gamification, and more. In addition, this training format provides maximum engagement.
Once you have decided on the course format you need, it is worth thinking about the necessary tools that transform regular in-class classes into an online course. Open edX has a wide range of tools, and you are sure to find one that suits your needs.
Guide on how to use Open edX
So, you have ultimately decided on the course format and the necessary tools. The final step before creating a course is to choose who will do it. You can go one of two ways:
- Hire a third-party team. This option is preferable in general since such teams have all the necessary knowledge and experience, which will allow them to make the course quickly and efficiently.
- Recruit specialists for your team. This option is quite complicated and costly, as you will have to go through a long and tedious recruiting process. In addition, you will need to rent an office, equip it, purchase licensed software and pay each employee a salary.
However, regardless of your choice, developing a course on the Open edX platform will consist of the following steps.
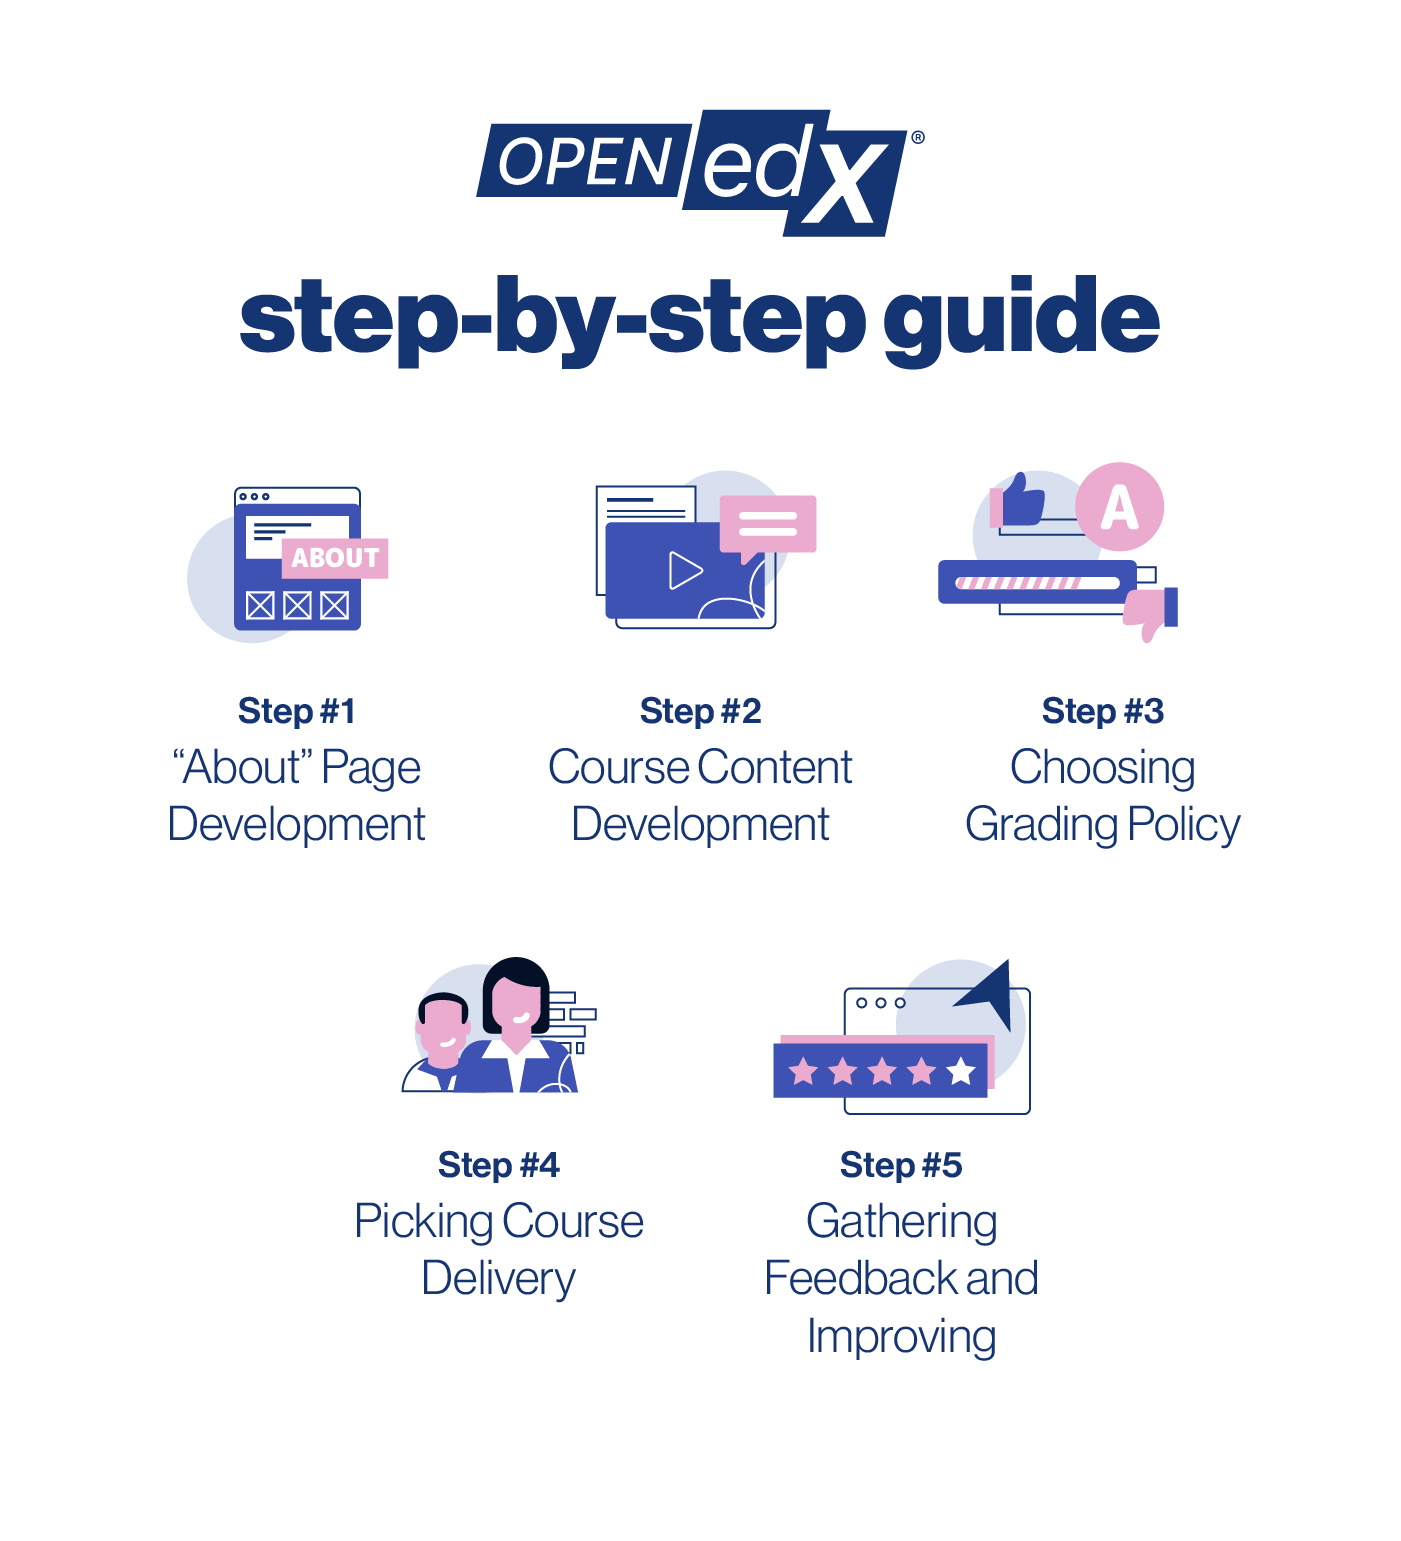
Step #1. “About” page
This page serves as the cover of your course and is the first thing a student sees and what makes your course stand out from others. Therefore, it is crucial to pay sufficient attention to the elaboration of this cover.
This page displays all the information that allows you to briefly tell future students what your course is about, its killer features, and what they will get from the course. Open edX tools will enable you to fill in all the required information fields, outline specific topics and points of the course, and attach a small video preview. In addition, this page has an area with student reviews and ratings that help other platform users in the decision-making process.
Step #2. Course content
The Open edX platform has various content blocks that allow you to adapt regular face-to-face classes into an online course. These blocks can be mixed to increase the involvement and diversity of the learning process. You have a choice between 4 blocks:
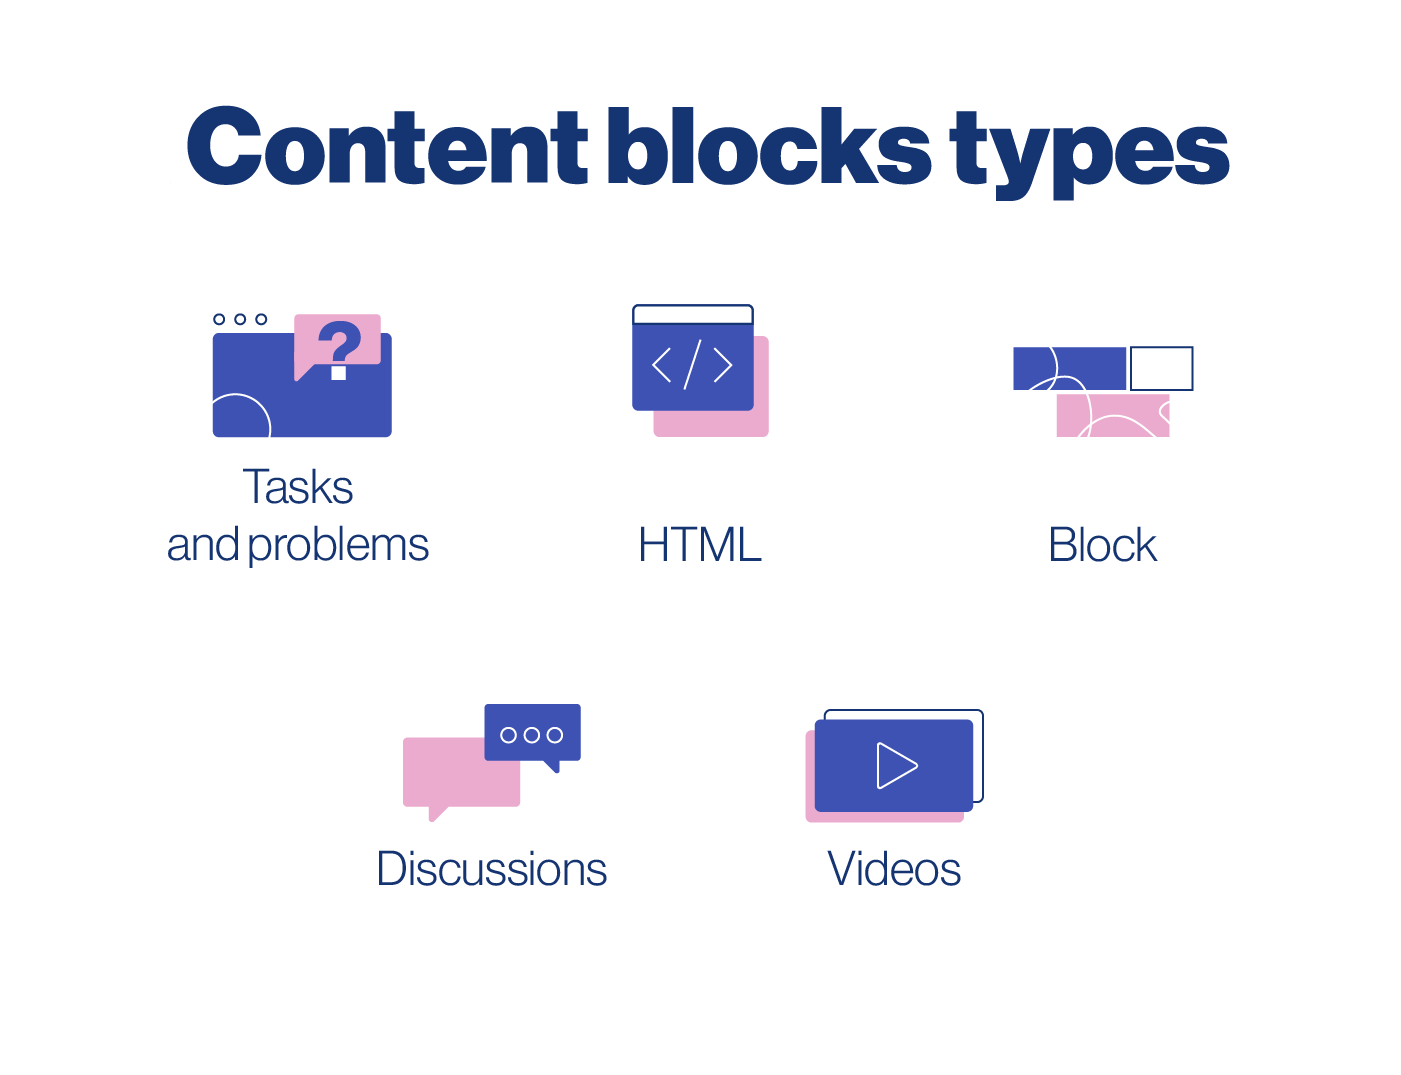
- Tasks and problems. With this option, everything is quite simple since its only mission is to create various test problems for your course. There are more than 20 test options to choose from, including standard with three answers and uploading tasks with a detailed response. In addition, each type of assignment can be modified by adding a time limit or marking assignments that affect the final grade of the course.
- HTML block. This tool allows you to create your custom blocks and embed any block you want. However, such manipulations require you to have the good technical knowledge or a professional development team.
- Discussions. To implement interaction between students, you can use this block. For example, you can create a discussion of a specific topic in the form of a chat and make this discussion affect the final grade.
- Videos. The name of the block speaks for itself. You can add or create different video formats for your course, be it lectures in the classroom, screen recordings, studio recordings, and more.
Step #3. Grading policy
The grading system is a crucial element of any learning process. Open edX provides you very flexible customization of student learning assessment thanks to a wide range of tools. You can set any test pass or fail range for any part of the course. In addition, you can set any deadlines for assignments and provide a detailed analysis of test results through the dashboard.
Step #4. Course delivery
Once the material is created and the grading system is defined, it's time to think about the course delivery. Open edX provides a choice between three different forms that are common in online learning:
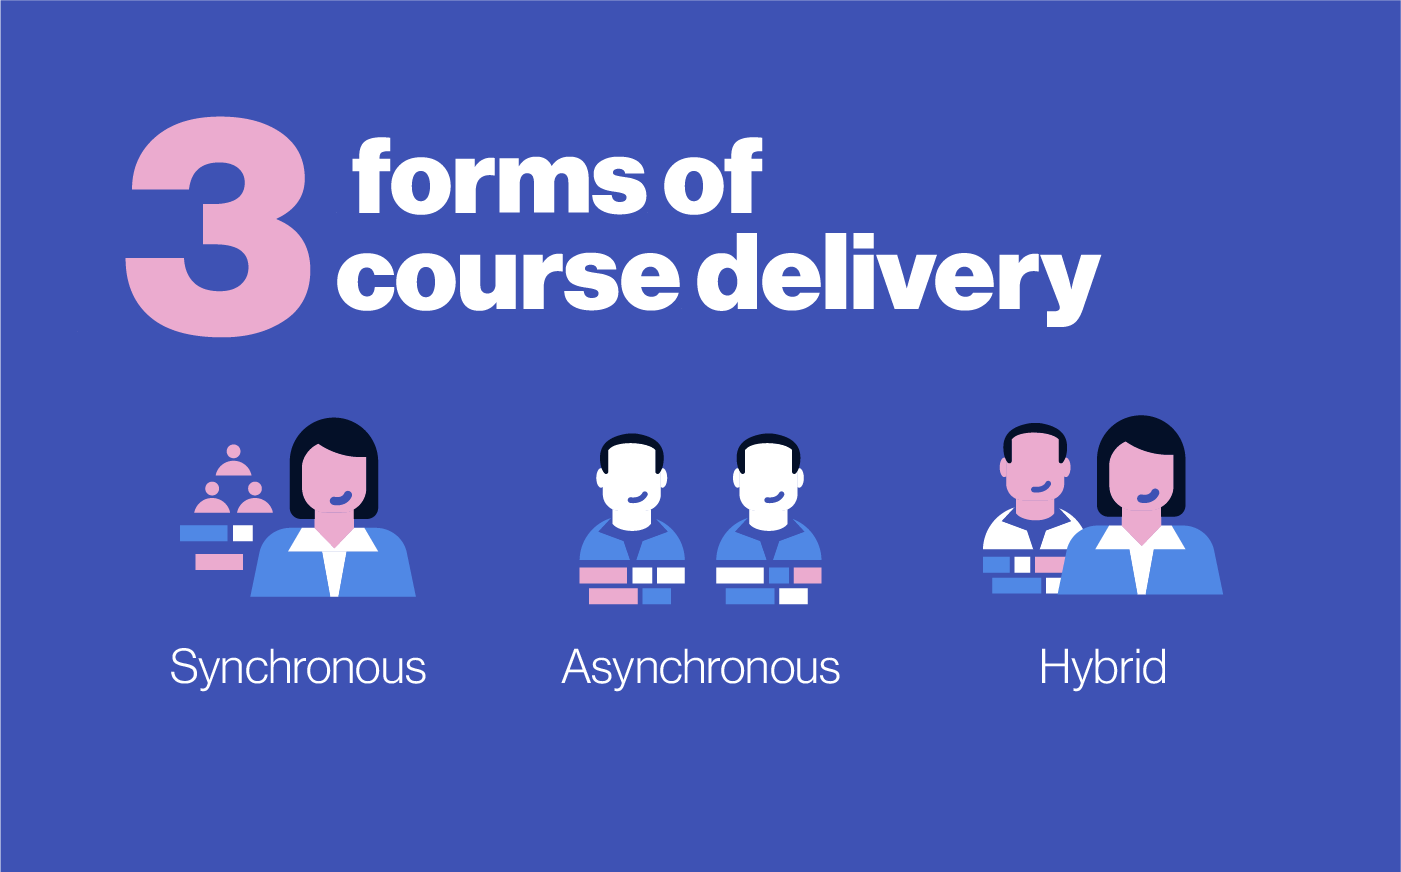
- Synchronous. The most familiar form of education for many students, since the teacher fully monitors the learning process. In addition, students interact directly with the teacher in real-time, and each assigned task has a clear deadline.
- Asynchronous. This option is somewhat different from the past since the student himself chooses when to start assignments. Interaction with the teacher takes place via chat and may have time intervals. In addition, tasks do not have clear deadlines.
- Hybrid. This option is a combination of the two previous ones.
Step #5. Gathering feedback and improving
So, your course is entirely ready and launched. Now comes the process of collecting feedback and improving the course based on student feedback. This vital piece of information will help you understand which parts of the course are well done and which parts require additional polishing. In addition, after the launch of the course, you must keep it up-to-date by replacing outdated information, updating the visual part, and much more. This will help extend the life of the course and make it relevant to new learners.
Expert in the e-learning theme
Popular posts
-
Why You Should Choose Ionic Framework for Mobile App Development
- 1
- 1
-
Collaboration Tools: Best Group Chat App For Small Business
- 6
- 0
-
Mailtrap Review: Interface, Features, Alternatives
- 6
- 1
-
SEMrush vs Ahrefs: Which SEO Tool Should You Use?
- 7
- 3
-
How to start a podcast: An A-to-Z guide and walkthrough
- 0
- 0
-
How much does it cost to move development environment to AWS?
- 1
- 0