How to screen grab on Mac
- Created at:
- Updated at:

This is a brief guide in response to numerous user requests. Screenshots can be made both by OS built-in functions (each OS has different methods) and special software by third-party developers. This is a life-simplifying option that helps to transfer information vividly, as it is often to show than to explain. There are several methods of making screenshots in macOS, each useful in its own way.
1. Hotkeys
You can take screenshots on macOS with “global” hotkeys - active for all programs, games, videos, etc. This is the fastest and the easiest way, probably, and there are a few key combinations for it.
- Shift⇧ + CMD⌘ + 3 - full screen.
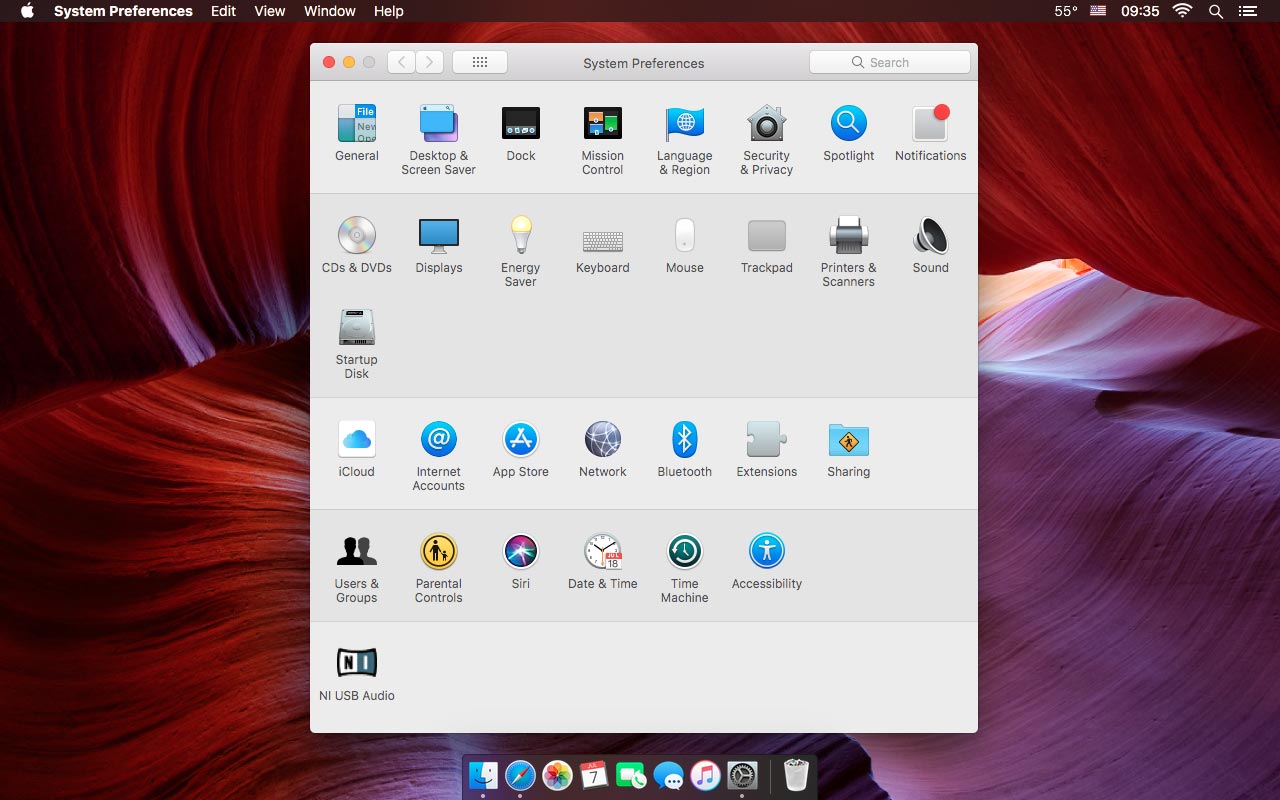
- Shift⇧ + CMD⌘ + 4 - selected area.
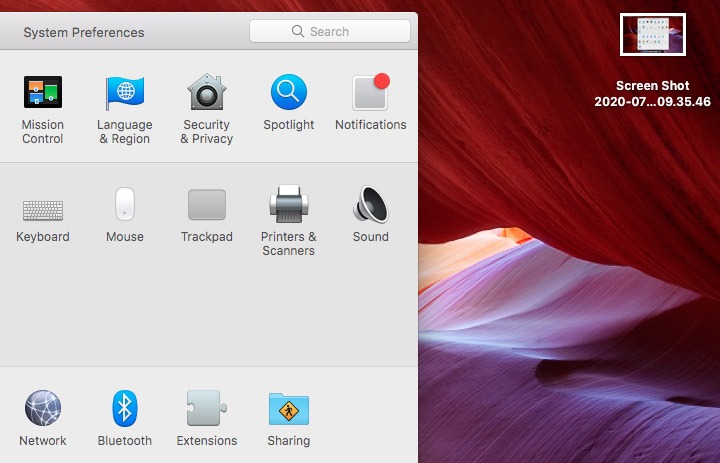
- Shift⇧ + CMD⌘ + 4 + Space - window, folder, etc.
All screenshots are automatically saved to Desktop. The interesting part to notice about window-only screenshots is the transparency and border shadows.
2. Preview
Preview is a multifunctional Apple application. Screen capturing is one of its features. To open Preview search it in Spotlight - click Ctrl⌃ + Space or CMD⌘ + Space (depends on settings) > type Preview > click Enter.
Then click File > Take Screenshot > pick one of three options: From Selection, From Window, From Entire Screen. Some more details to keep in mind:
- a mouse pointer will be visible on screens;
- when capturing full screen, 10 seconds timer is on;
- image formats: heif, jpeg, jpeg-2000, openEXR, pdf, png, tiff;
- snapshot immediately opens in Preview edit mode.
3. Grab
Grab is another macOS utility for screenshots. To open Grab search it in Spotlight - click Ctrl⌃ + Space or CMD⌘ + Space (depends on settings) > type Grab > click Enter. Control Grab with hotkeys:
- CMD⌘ + 4 - selection
- CMD⌘ + 5 - window
- CMD⌘ + 3 - full screen
- Alt⌥ + CMD⌘ + 3 - timed screen (10 seconds)
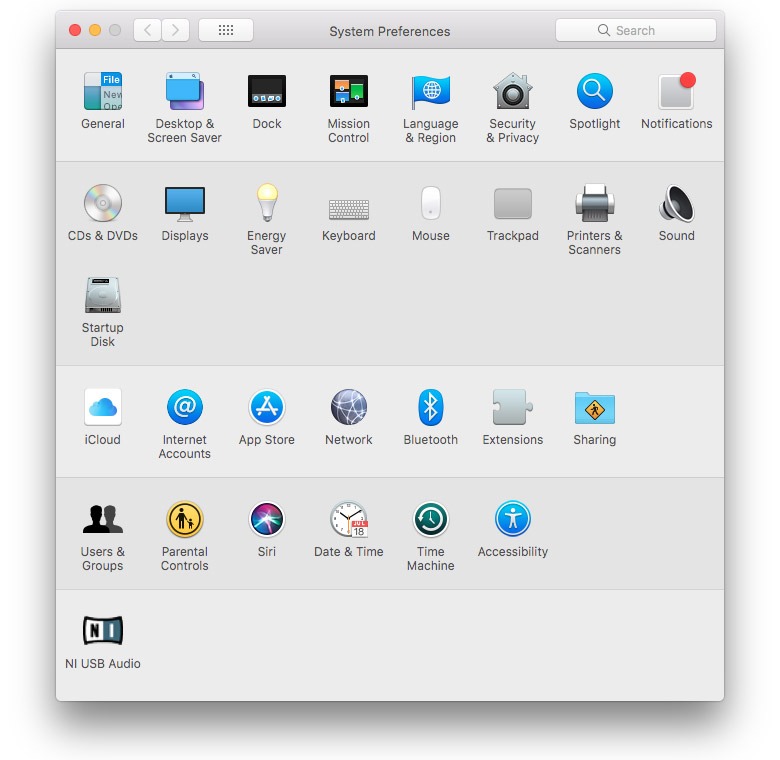
or you can navigate to Menubar > Capture > select one of four options. After you take a screenshot, save it in png, jpeg, tiff. Note: there is no shadow on window-only screenshots.
4. Screenshot apps
If you seek an even easier way of how to screenshot on Mac, use third-party screen capturing apps. Find more info about 5 such tools below. We’ve also added a usability column to the comparison table, according to general experience, speed, response, image quality.
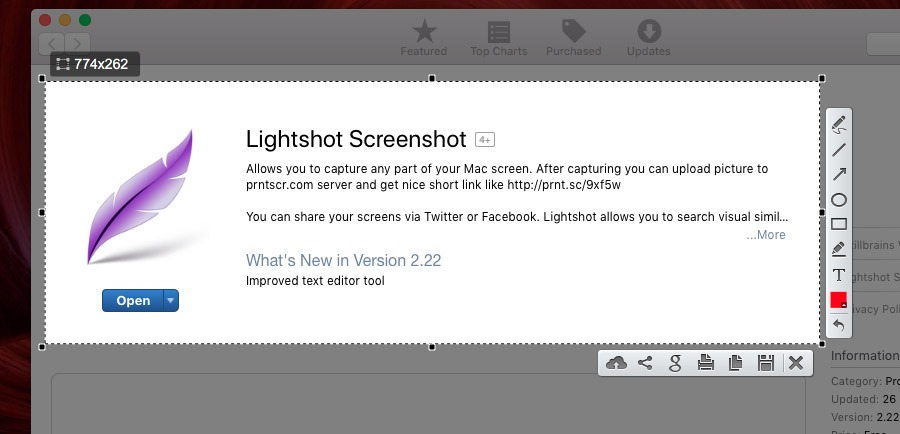
Lightshot Screenshot
Download: App Store | Version: 2.22 | macOS: 10.7 or later | Size: 1.5 MB
A simple app with tools to make screenshots more informative: arrows, pointers, circles, squares, text. Add to that social sharing options and cloud upload with instant link.
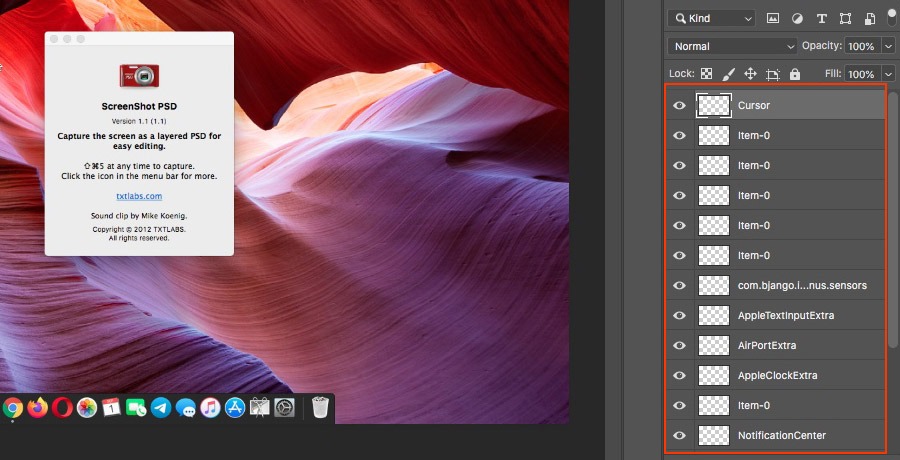
ScreenShot PSD
Download: App Store | Version: 1.1 | macOS: 10.6 or later | Size: 1.2 MB
Captures and saves all screenshots in PSD format, as a layered project. Thus every single item is editable, which could be useful for graphic designers. Quite outstanding.
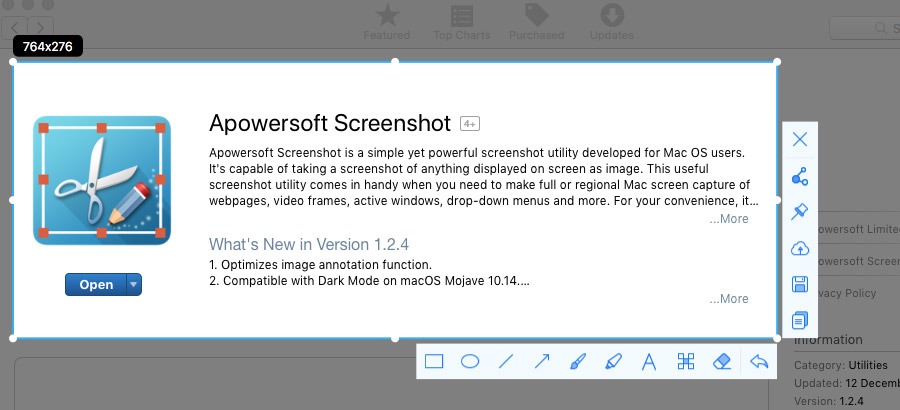
Apowersoft Screenshot
Download: App Store | Version: 1.2.4 | macOS: 10.8 or later | Size: 9.1 MB
Similar to Lightshot, area selection comes quite handy, along with additional items such as lines, arrows, circles, text. Upload and sharing options are in place too. In Settings, you can change hotkeys for selection, full screen, and image format (png, bmp, tiff, jpg, gif).
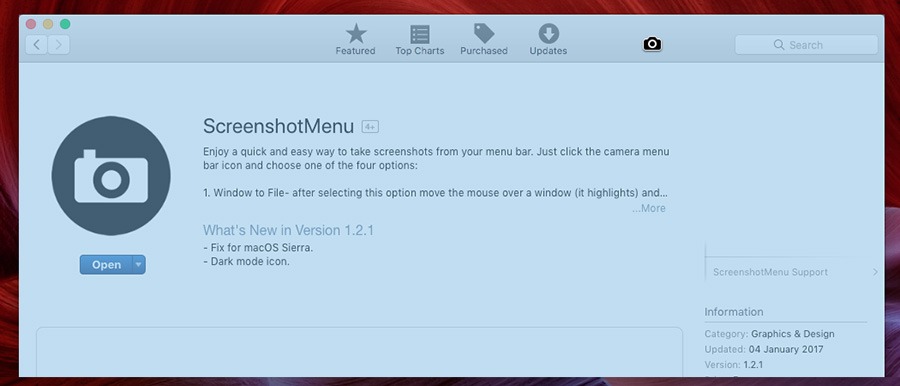
Screenshot Menu
Download: App Store | Version: 1.2.1 | macOS: 10.6 or later | Size: 329 KB
A tiny utility to capture screenshots, copy images to the clipboard. Activate auto-launch and you won't even notice it in the background. No settings, no interface, only straight controls.
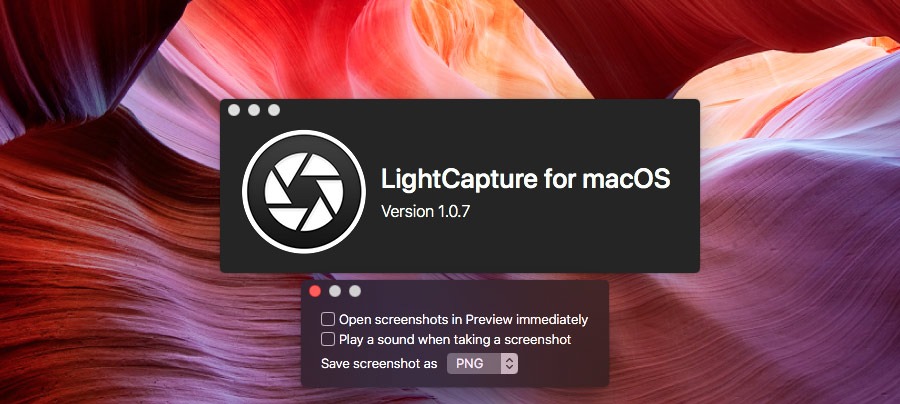
LightCapture
Download: App Store | Version: 1.0.7 | macOS: 10.11 or later | Size: 12.2 MB
A peculiar thing about this app is the ability to screen capture to Clipboard, in other words, without saving an image to a hard drive, pasting it into a photo editor or Skype directly. Go to Preferences to configure: open screens in Preview (default macOS viewer), output format, sounds.
Read next: Free screen recording software.
No additional information provided by user.
Popular posts
-
Why You Should Choose Ionic Framework for Mobile App Development
- 1
- 1
-
Which e-commerce platform is the most SEO friendly?
- 1
- 2
-
The 13 Best Writers Software and Writing Apps for 2020
- 3
- 1
-
Digital Transformation in Banking
- 1
- 1
-
How much does it cost to move development environment to AWS?
- 1
- 0
-
Grow physical therapy blog audience with these 10 ideas
- 1
- 0